His origin
Coming from traditional Chinese medicine, Gua Sha massage was initially a real treatment with therapeutic virtues. Performed using a cow's horn spatula, it consisted of "scraping" the skin aimed at cleansing it while stimulating blood circulation in the face.
By gently stimulating different meridians of the face, the Gua Sha massage allows better circulation of energy bringing both anti-aging and relaxing effects to your face.
Its benefits
Soothing and relaxing, the Gua Sha massage has many virtues, very appreciated during beauty and anti-aging facial treatments.
Among these, we can cite for example:
- softening and softening of the skin
- a reduction in fine lines and wrinkles
- stimulation of blood circulation
- stimulation of cell regeneration
- reduction of dark circles
- a reduction in skin imperfections, such as rosacea or acne
- natural illumination of the complexion

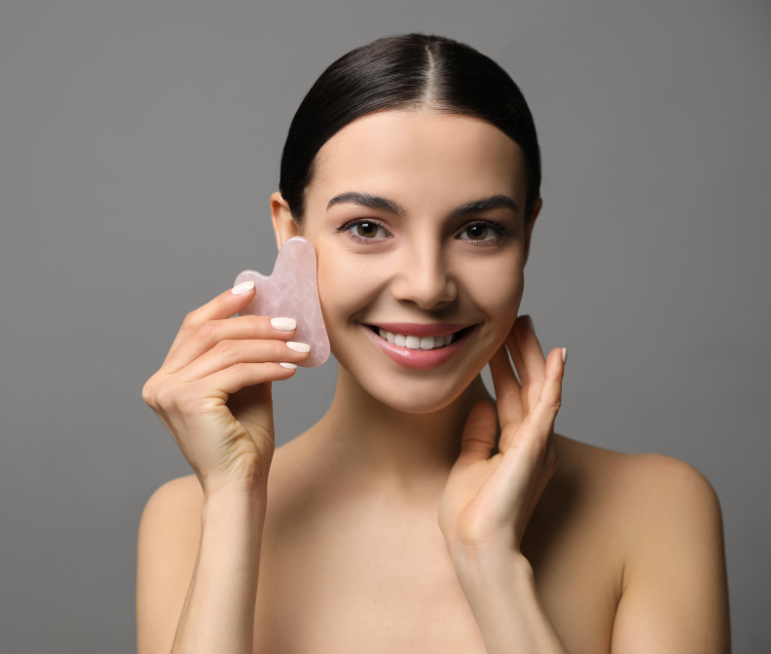
How to perform a Gua Sha facial massage?
This massage can be offered to you by a skin specialist or carried out by you at home, in the form of a self-massage.
It is important to practice it on clean skin, made up and free of all impurities, then apply a few drops of massage oil to your face. A facial treatment oil may also be suitable.
Step 1
First, gently slide the stone from the top of your neck to the bottom of your ears. Then reach the middle of your chin, then slide the stone towards the lobe of your ears.
2nd step
Then move your massage stone to apply it above the lips and slide it again towards the earlobes, on either side of your face.
Step 3
Repeat this movement by applying the Gua Sha massage stone to your nostrils, then moving it to the middle of your ears.
Step 4
Bring the stone back up your face to apply it under your eyes, gently massaging the area where dark circles or bags may be present.
Step 5
Place the stone in the middle of your forehead, between your eyebrows, then move it along the top of your eyebrows, on either side of your face.
Step 6
Place the stone again in the middle of the forehead and this time move it from the top of your nose to the top of your skull. Repeat this movement, gradually sliding it down the sides of your face, until it reaches your temples.
Step 7
Finally, slide the stone over the contour of your face: start from the bottom of your neck and move it to the forehead, on one side then the other.
Each of these steps can be repeated 2 to 3 times during each of your facial self-massage sessions. These sessions can be repeated several times a week.